If you are considering solar panels (or simply wonder how they are attached to the rooftops in your neighborhood), there are a few common racking and mounting methods to understand for residential installations.
While the installation process may appear fairly straightforward and DIY-friendly, professional help is almost always required to access the expert techniques, equipment, and labor guaranteed to create a durable and long-lasting renewable energy system.
With a variety of options available, hardware choices must be made based on your roof’s unique characteristics, compatibility with other components in the system, and a few other key considerations. Although it may seem like an afterthought, picking the right solar panel mounting materials is crucial for the performance and safety of the system.
(In this article, we’ll focus on roof-mounted solar, since ground-mounted solar and pole mounts require a completely different type of solar panel mounting.)
To protect your home and your investment in renewable energy, let’s look at the solar panel installation process and explore the most common racking and mounting systems used by today’s industry professionals.
The Solar Mounting Process
Unless you’d like a leaky roof and potentially airborne panels during the next major weather event, mounting a solar energy system is much more complicated than just screwing the components into your home.
Once the solar design has been permitted by your local government and utility, professional solar installers then take the following steps to ensure that the system will be approved for safe operation and performance:
00001.
Installing the Mounts: First, mounting brackets are placed on your roof so that the solar panels will have a place to sit. Solar mounts are typically attached directly to roof rafters for sturdiness and may require penetration to properly anchor the system. Here, your installer will ensure that the mounts are properly sealed and covered to be watertight and resistant to corrosion or damage.
Solar Panel Mounting Hardware
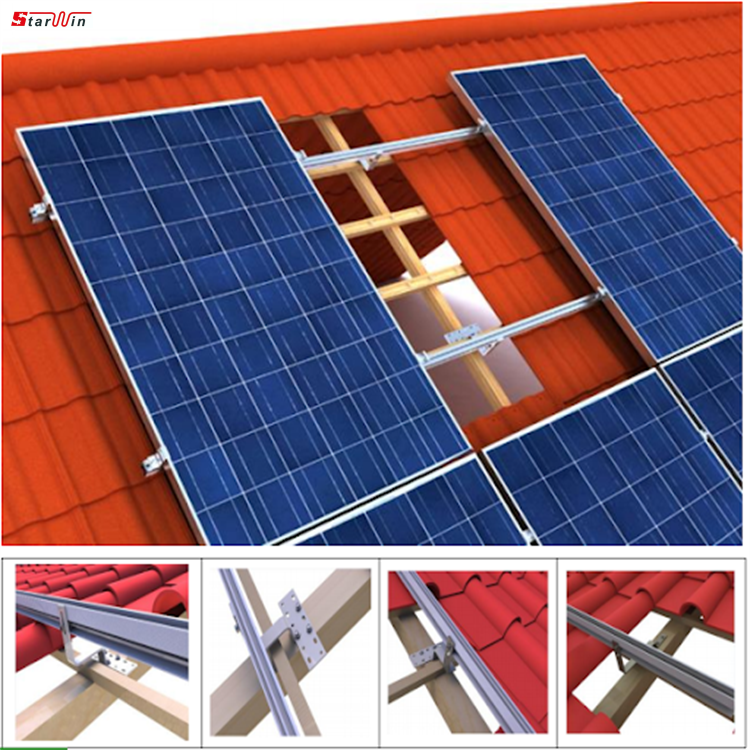
Zooming in on a typical solar panel installation, here are four specific pieces of hardware that are usually required to properly mount a new system:
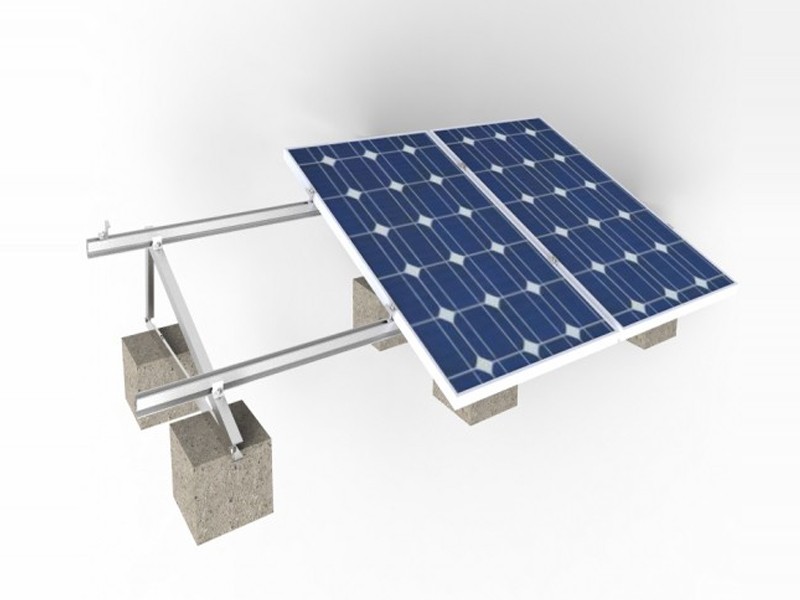
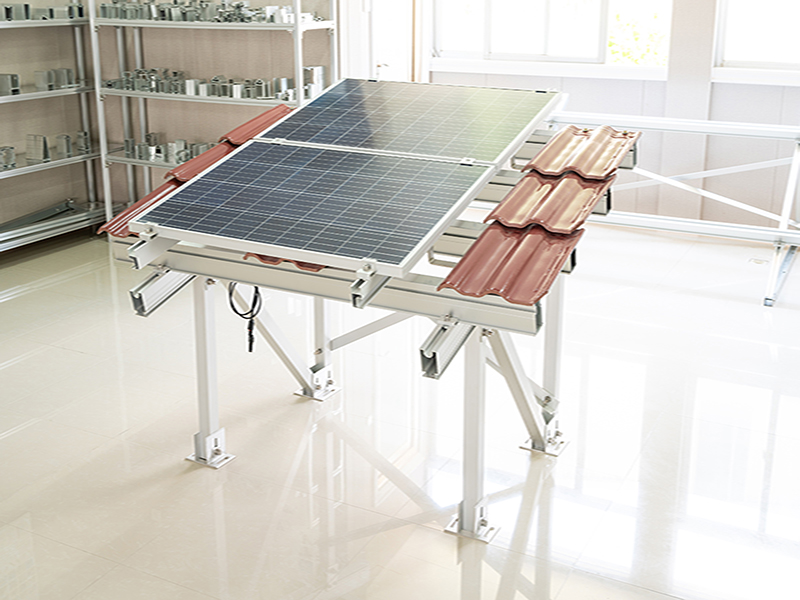
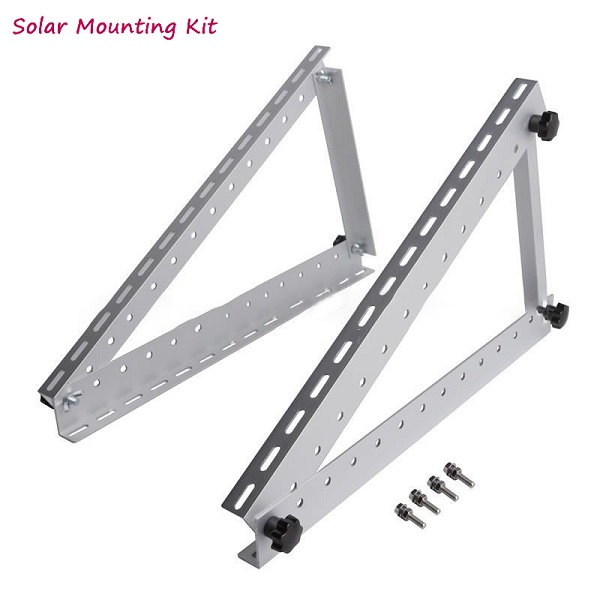
Mounts: Used to support the entire installation, solar panel mounts such as L-feet (named for their uncanny resemblance to the letter “L”), can be lagged into the roof rafters (named for the large lag bolts that are used) to provide a safe and secure place for the system to sit.
Flashings: In conjunction with the mounts, solar flashings provide a waterproof barrier to prevent any possible leaks from rain or snow. Flashings are typically made of rubber, aluminum, or galvanized metal.
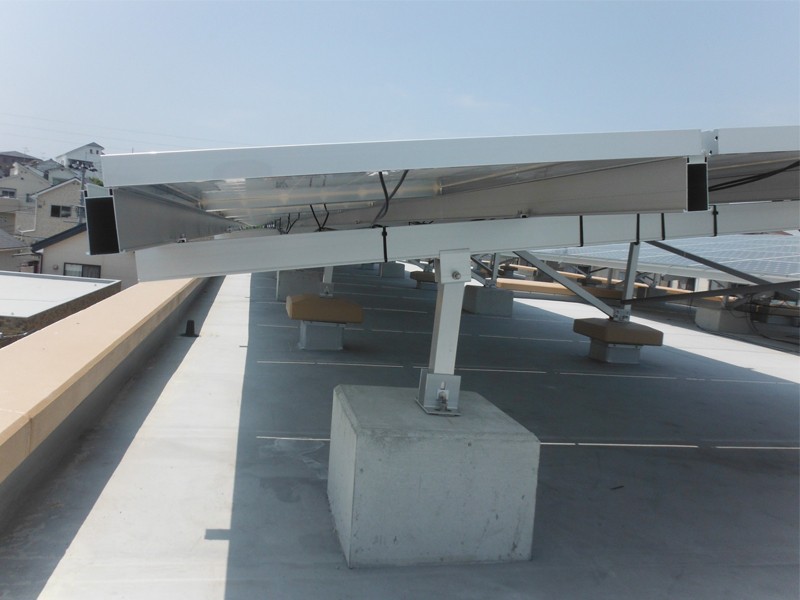
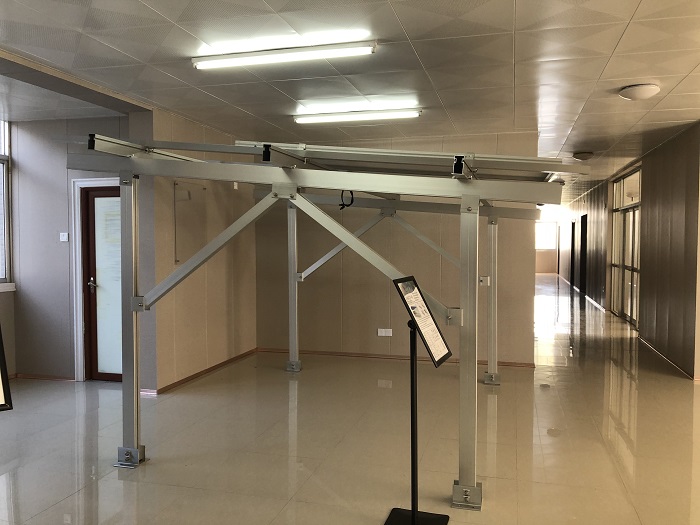
Rails: On top of the mounting hardware, rails (or “racks”), are long, aluminum tracks installed horizontally to bear the weight of the panels and prevent them from sliding off of the roof.
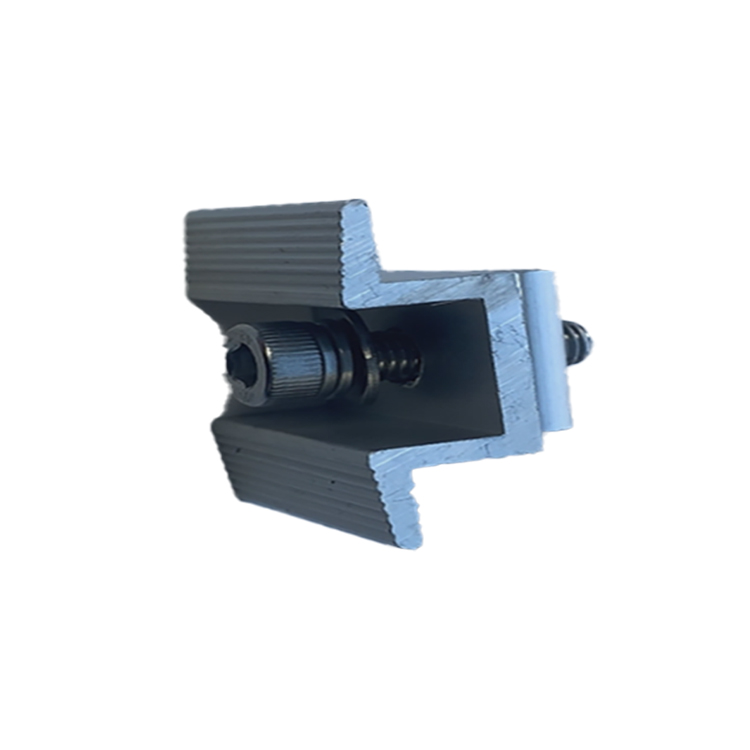
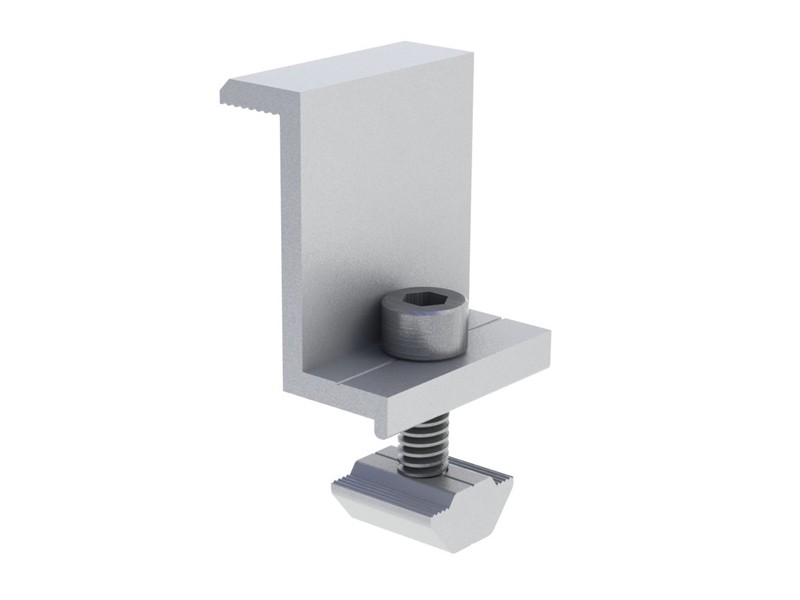
Clamps: To ensure that every component will stay in place, solar panels are also usually secured to the rails with a system of stainless steel screws and clamps.
Choosing the Right Solar Mounting System for Your Home
While the basic components for solar panel mounting are fairly universal, choosing the right hardware for a single installation must be made based on a few specific variables.
Critically, solar mounting should not be a simple matter of finding the lowest-cost option. While high-quality materials may be more expensive upfront, a safe and secure installation is 100% worth it when considering the potential consequences of roof damage from shoddy parts, poor craftsmanship, or voided warranties.
When you work with a company like Palmetto, here are four key things that are considered when selecting the best roof-mount system.
Aesthetics
With a minimal amount of visible equipment, most solar panel racking systems look more or less the same to the untrained eye, as the majority of the hardware is hidden below the panels. From the street below, passersby will usually only be able to see the panels, parts of the rails, and a small fraction of the mounting materials themselves.
While some solar options may include a “skirt” over the edge of the panels to hide the underside of the solar array, skirts are typically not recommended as they can collect debris and encourage animal nesting.
If you have visibility concerns from your HOA about what a system may look like on your roof, we encourage you to talk to your installer about solar access laws in your area. There are many parts of the country with legislation in place that prevents HOAs from barring renewable energy systems, no matter their appearance.
Of course, to comply with local aesthetic guidelines, experienced solar companies may be able to adjust various aspects of the system installation. This includes special mounting materials to level panels on an uneven roof, installing wiring conduits away from the street, and painting select system components in dark or neutral tones when required.
Leak Protection
To protect against pooling, leaks, and physical property damage, solar panels are installed with a small, intentional gap between the modules and the roof. With horizontal rails sitting on top of the mounting points, properly installed solar panels will not prohibit debris or water from traveling down and off of a roof, helping to prevent the possibility of mold, rot, and even electrical fires.
Leak protection is important, and every experienced solar installer should have a clear plan to meet local building standards and best practices for waterproofing and flashing. For the best results, flashing and sealant choices should be selected based on roofing materials, as well as typical local weather conditions. Leak protection for metal roofs will be a lot different from the process for asphalt shingle or wood shake, for example.
Installation Ease
The longer a professional solar installation takes place, the more you may end up paying for labor costs. So for the efficiency of their operations and value to their customers, most trustworthy solar installers prefer a mounting solution that is easy to install and proven to withstand the test of time.
Here, we almost always suggest allowing a professional installer to supply their own mounting equipment, as many companies will not even consider third-party materials. By allowing a reputable installer to handle the installation end-to-end, it is more likely that the entire process will be handled with speed, efficiency, and consistent quality throughout.
Roof Shape & Attributes
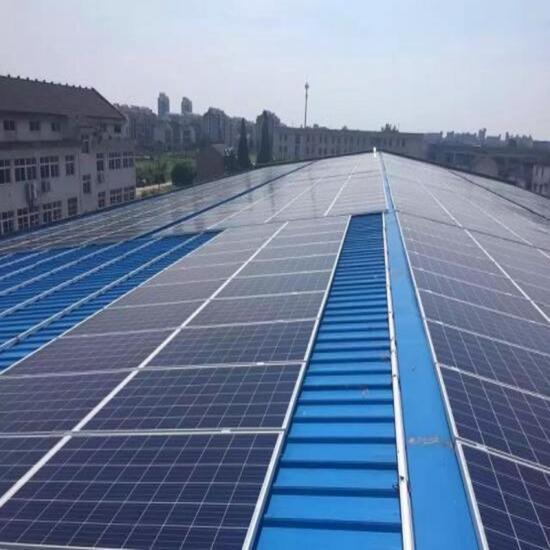
Finally, the shape of your roof and its physical attributes can also influence your solar panel mounting system choices. Dramatically sloped roofs with a steep tilt angle may require a bit of extra care when it comes to safety, and rail-based systems are almost always recommended to add a layer of protection against high winds and heavy weather systems anywhere in the world.
Depending on your roof's attributes, installers may be limited to a few creative solutions to roof mount all of the panels safely. While working around chimneys, air conditioning units, and other obstructions, mounting materials must be able to properly support the panels wherever they fit for maximum sun exposure.
When working with your installer, you can ask them how well their mounting materials will work with the unique aspects of your specific roof. If there are limited obstructions, most solar panels can be installed in uniform lines, while sharing long rails mounted with ease and security. Otherwise, more creative systems may be necessary for oddly shaped roofs.

